
Table of Contents
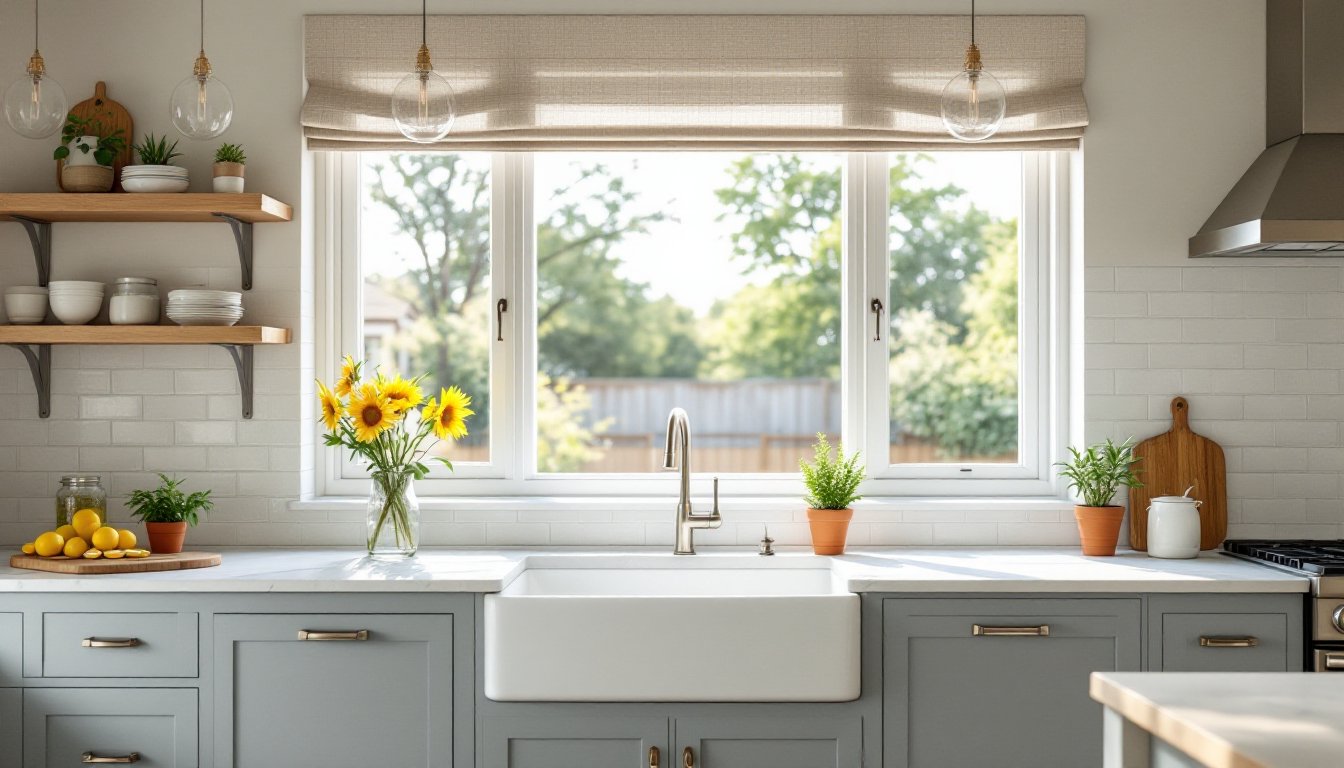
ToggleNatural stone brings a level of depth and character to a kitchen that few materials can match. Unlike manufactured tiles or laminate, each stone slab carries unique veining, color variation, and texture that tells its own geologic story. A stone backsplash isn’t just a protective surface, it’s a focal point that anchors the entire room, adding value and visual weight. Whether someone is planning a full remodel or a targeted upgrade, stone offers durability and timeless appeal. This guide walks through the most popular stone types, design patterns, and practical considerations for choosing and installing a stone backsplash in the kitchen.
Key Takeaways
- Stone backsplash kitchen ideas offer unique, one-of-a-kind designs with natural veining and texture that manufactured tiles cannot replicate, adding lasting value and visual depth to your kitchen.
- Popular stone types including marble, travertine, and limestone each require different maintenance—marble and limestone etch when exposed to acidic substances, so sealing every 6-12 months is essential.
- Design patterns like subway, herringbone, and chevron layouts dramatically impact the visual effect; slab backsplashes create a seamless gallery-like appearance but require professional installation at $50-$150 per square foot.
- Proper installation requires careful surface prep, a white polymer-modified thinset, a wet saw with diamond blade for cutting, and patience during grout curing (48-72 hours) before sealing.
- Stone develops a desirable patina over time and ages gracefully, making minor scratches blend into the material rather than appear as damage—ideal for high-traffic kitchens despite higher maintenance demands.
Why Choose Stone for Your Kitchen Backsplash?
Stone backsplashes deliver both function and aesthetics in one package. They resist heat from cooktops better than many synthetic materials, though direct prolonged contact with hot pans isn’t recommended without trivets. The natural thermal mass of stone also helps moderate temperature fluctuations near cooking surfaces.
From a design standpoint, stone introduces organic variation that manufactured products struggle to replicate. No two slabs are identical, veining patterns, fossil inclusions, and color gradients make each installation one-of-a-kind. This uniqueness appeals to homeowners who want a custom look without commissioning bespoke millwork.
Stone also ages gracefully. While glossy tile can show wear and chip over time, stone develops a patina that many find desirable. Minor scratches or etches blend into the material’s natural texture rather than standing out as damage. For high-traffic kitchens, this forgiving quality matters.
That said, stone requires more maintenance than porcelain or glass. Most natural stones are porous and need periodic sealing to resist stains from oils, wine, and acidic foods. Marble and limestone are particularly vulnerable to etching from citrus juice or vinegar. Homeowners should weigh this upkeep against the material’s visual impact before committing to stone.
Popular Stone Types for Kitchen Backsplashes
Marble Backsplash Ideas
Marble remains the gold standard for upscale kitchens. Carrara marble, with its soft gray veining on a white background, is the most widely used variety. It pairs well with both traditional cabinetry and modern minimalist designs. Calacatta marble offers bolder, more dramatic veining and a brighter white base, but comes at a premium price, often two to three times the cost of Carrara.
For installation, marble slabs (typically 3/8 inch thick) can be cut into large-format panels that minimize grout lines. Alternatively, 3×6-inch or 4×4-inch marble tiles create a more traditional look with visible grout. Herringbone and subway patterns are popular layouts that highlight the stone’s natural veining.
One key consideration: marble is a soft stone (Mohs hardness around 3-4) and will etch when exposed to acidic substances. This isn’t structural damage, but it does dull the polished finish. Honed or leathered finishes hide etching better than polished surfaces, though they sacrifice some of marble’s signature luster. Sealing every 6-12 months with a penetrating sealer like an impregnator-type product helps resist staining, though it won’t prevent etching.
Travertine and Limestone Options
Travertine and limestone deliver a warmer, more rustic aesthetic than marble. Travertine is characterized by natural pitting and voids, some installers fill these with matching epoxy for a smoother surface, while others leave them exposed for texture. Colors range from ivory and beige to warm gold and walnut brown. The stone works especially well in Mediterranean, Tuscan, or farmhouse-style kitchens.
Limestone offers a more uniform appearance with subtle fossilized shell or plant matter embedded in the surface. It’s denser than travertine but still porous. Both materials are sedimentary stones formed from calcium carbonate, making them reactive to acids. Like marble, they’ll etch if lemon juice or tomato sauce is left to sit.
Installation-wise, travertine and limestone are often sold as 4×4-inch, 6×6-inch, or 3×6-inch tiles. Tumbled finishes (with softened edges) are popular for a distressed look, while honed finishes provide a smooth, matte surface. These stones are easier to cut than granite or quartzite, so DIY installation is feasible for homeowners comfortable with a wet saw. Always use a white or light-colored thinset mortar, gray mortar can telegraph through lighter stones and alter their appearance.
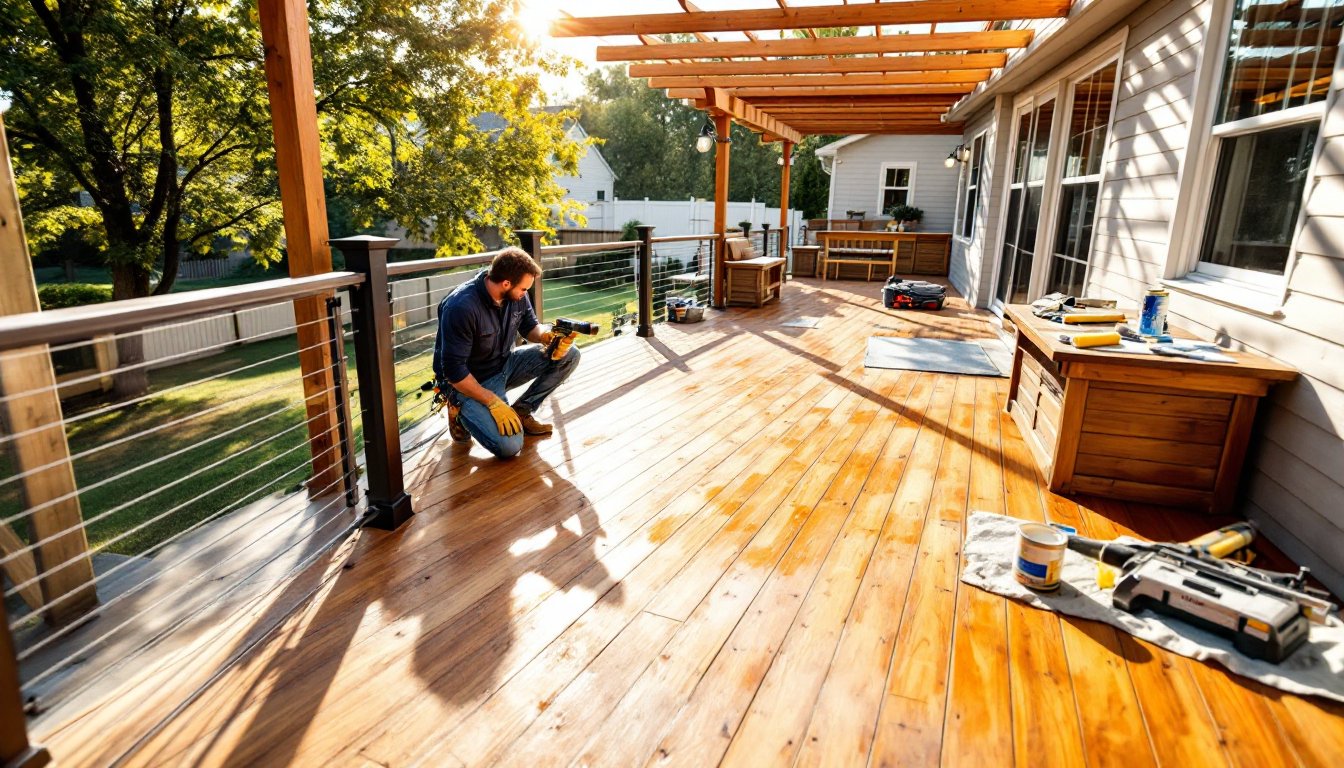
For those exploring broader upgrades, many home renovation ideas incorporate natural stone elements beyond the backsplash, tying together countertops, flooring, and accent walls.
Design Styles and Pattern Ideas for Stone Backsplashes
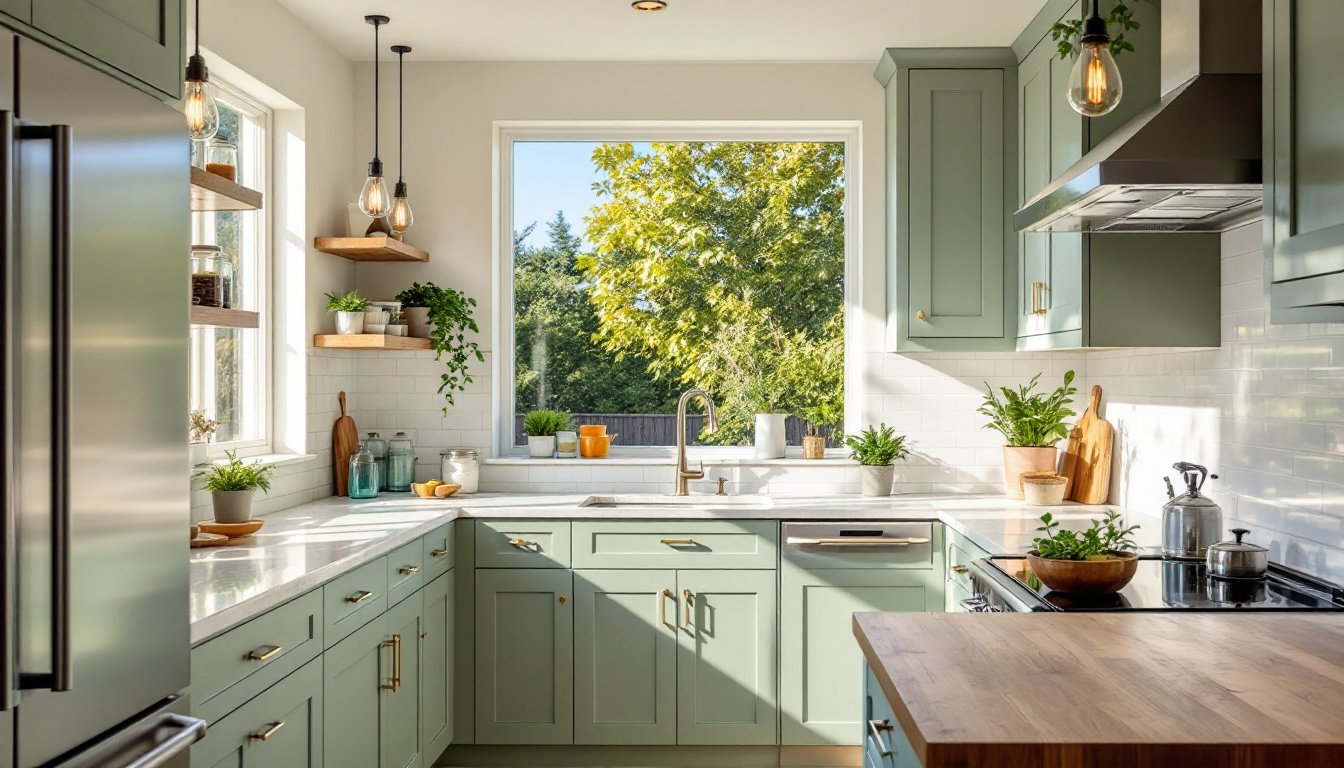
Pattern choice has a huge impact on how a kitchen with stone backsplash reads visually. A subway layout (3×6-inch tiles in a running bond) is a safe, versatile choice that works in traditional and transitional kitchens. Offset the tiles by half their length for a classic look, or stack them grid-style for a modern twist.
Herringbone and chevron patterns add movement and visual interest. Both require precise cutting at 45-degree angles, so a quality miter saw or wet saw with an angle guide is essential. Herringbone creates a zigzag effect with rectangular tiles, while chevron uses trapezoid-shaped tiles that meet at a point. These patterns work best with smaller tiles (2×6-inch or 3×6-inch) to keep the scale manageable.
Slab backsplashes, large-format panels with minimal or no grout lines, are gaining popularity in contemporary kitchens. A single piece of marble or quartzite running the full width of the cooktop creates a seamless, gallery-like effect. This approach requires professional fabrication and installation due to the weight and precision needed, but the result is striking. Expect to pay $50-$150 per square foot installed, depending on stone rarity and edge detail.
For renovation projects that blend old and new, consider a mosaic or mixed-material layout. Combine marble hexagons with metal or glass accents, or use travertine in varying sizes (French pattern) for an Old World feel. Just keep the color palette cohesive, too many competing elements can overwhelm a small kitchen.
Real-world examples and photo galleries like those on Houzz show how different stone types and patterns perform in actual homes, offering a reality check beyond staged showroom displays.
Installation and Maintenance Considerations
Installing a stone backsplash is within reach for experienced DIYers, but it’s more demanding than ceramic tile. Stone is heavier, more brittle, and less forgiving of layout errors.
Surface prep is critical. The wall must be flat, clean, and structurally sound. Standard drywall works for most tile installations, but if the backsplash extends behind a cooktop or range, check local code, some jurisdictions require cement board or another noncombustible backer in those zones per IRC Chapter 3 fire safety provisions. Use a level and straightedge to check for high spots: grind down bumps or float low areas with thinset.
Choose a white polymer-modified thinset rated for natural stone. Gray thinset can stain lighter stones or show through translucent varieties. Mix to a peanut butter consistency and apply with a 1/4-inch notched trowel for most tiles. Back-butter larger or uneven tiles to ensure full contact and prevent voids that can crack the stone.
Cutting stone requires a wet saw with a diamond blade. Rent one if you don’t own it, expect to pay around $50-$75 per day. Always wear safety goggles and a dust mask, even with a wet saw. Stone dust is hazardous when inhaled. For outlet and switch cutouts, a hole saw or angle grinder with a diamond blade gives cleaner results than nibbling with tile nippers.
Grout choice matters. Use a sanded grout for joints wider than 1/8 inch, unsanded for tighter spacing. Epoxy grout is more stain-resistant than cement-based grout but harder to work with and more expensive. Let grout cure fully (typically 48-72 hours) before sealing.
Sealing is non-negotiable for porous stones. Apply a penetrating stone sealer with a foam brush or sprayer, following the manufacturer’s dwell time (usually 5-15 minutes), then buff off excess. Repeat annually or whenever water stops beading on the surface. For day-to-day cleaning, skip acidic or abrasive cleaners, use a pH-neutral stone soap and a soft cloth.
If the project involves reconfiguring cabinetry or electrical, many top home renovation ideas bundle backsplash work with broader kitchen updates to maximize impact and efficiency. Permits may be required if relocating outlets or adding new circuits: consult local building officials before roughing in electrical.
For design inspiration beyond installation mechanics, resources like The Kitchn showcase real kitchens with detailed breakdowns of material choices and layout decisions. Remodelista’s stone backsplash gallery curates high-end examples with a focus on material authenticity and craftsmanship.
Conclusion
A stone backsplash brings texture, durability, and individuality to a kitchen. With proper installation and routine sealing, it will outlast many other finishes while developing character over time. Choose the stone type and pattern that align with the kitchen’s style and the homeowner’s tolerance for maintenance. The effort invested in prep and detail work pays off in a finished product that feels both timeless and personal.