Table of Contents
ToggleCramped kitchen with a dining table wedged in the corner? A kitchen-dining combo doesn’t have to feel like a compromise. When space is tight, combining these two essential rooms makes sense, but only if the layout, furniture, and finishes work together to create distinct zones without sacrificing function. The challenge isn’t just fitting everything in: it’s making the space feel open, organized, and intentional. With smart planning, the right furniture scale, and a few strategic design moves, even a modest footprint can handle meal prep, family dinners, and weekend hosting without feeling cluttered or chaotic.
Key Takeaways
- Small kitchen dining room combo design works best when you define zones through flooring, lighting, and partial dividers rather than walls, keeping the space open and functional.
- Choose appropriately scaled furniture like round tables (42–48 inches), rolling carts, and bench seating to maximize floor space and improve circulation in a kitchen-dining combo.
- Light colors, consistent finishes, and three-layer lighting (ambient, task, and accent) with dimmers make small spaces feel larger and more cohesive.
- Use vertical storage solutions such as floor-to-ceiling cabinets, pull-out shelves, and wall-mounted organizers to eliminate clutter and maximize functionality.
- Position your dining table near windows when possible and maintain at least 36 inches of clearance on all sides for comfortable chair movement.
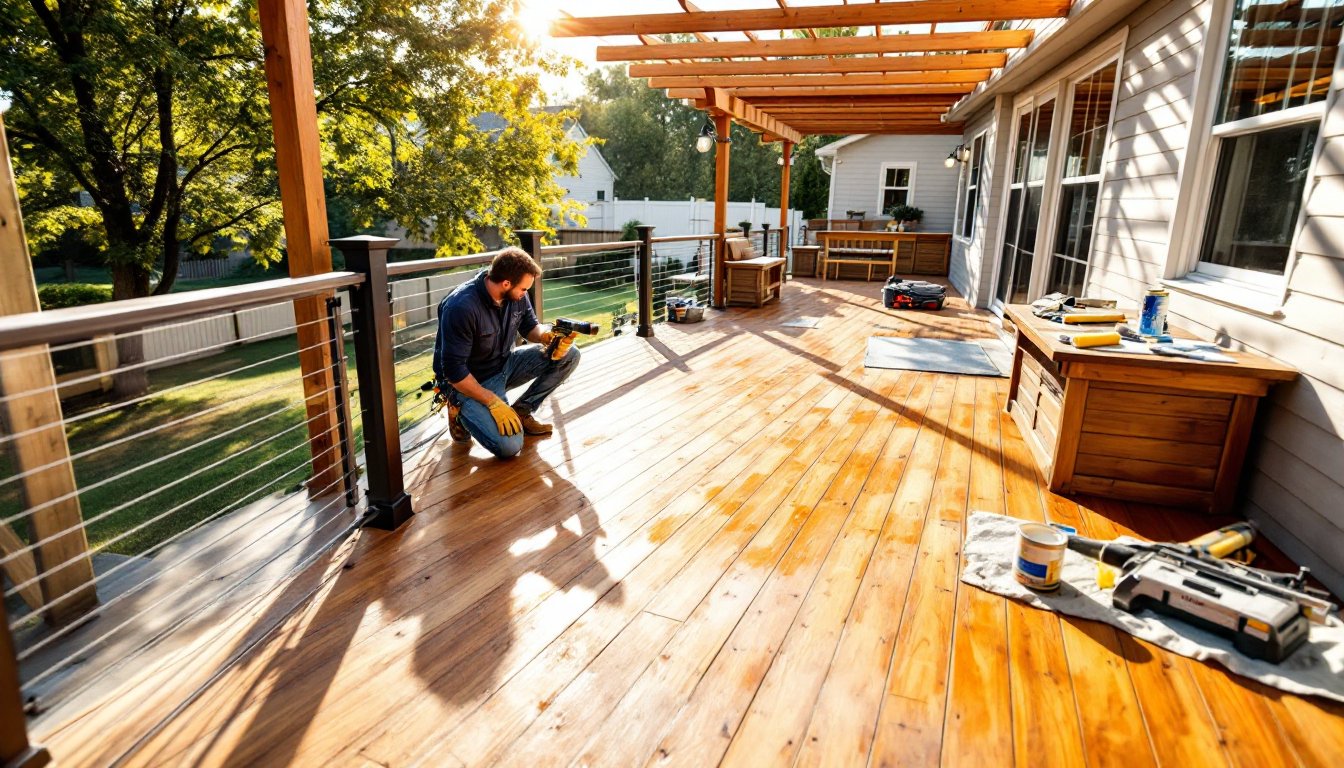
- Before removing walls in your kitchen-dining combo, consult a structural engineer to identify load-bearing elements and reroute electrical or plumbing systems safely.
Why Open-Concept Kitchen Dining Combos Are Perfect for Small Homes
Removing a wall between the kitchen and dining room instantly makes both areas feel larger. Open-concept layouts eliminate the visual barrier that chops a small home into even smaller boxes. Sight lines extend across the combined space, giving the illusion of more square footage without adding a single inch.
This setup also improves traffic flow. Instead of navigating doorways and tight corners, movement between cooking, serving, and eating becomes seamless. It’s easier to keep an eye on kids doing assignments at the dining table while prepping dinner, and hosting gets simpler when guests aren’t stuck in a separate room.
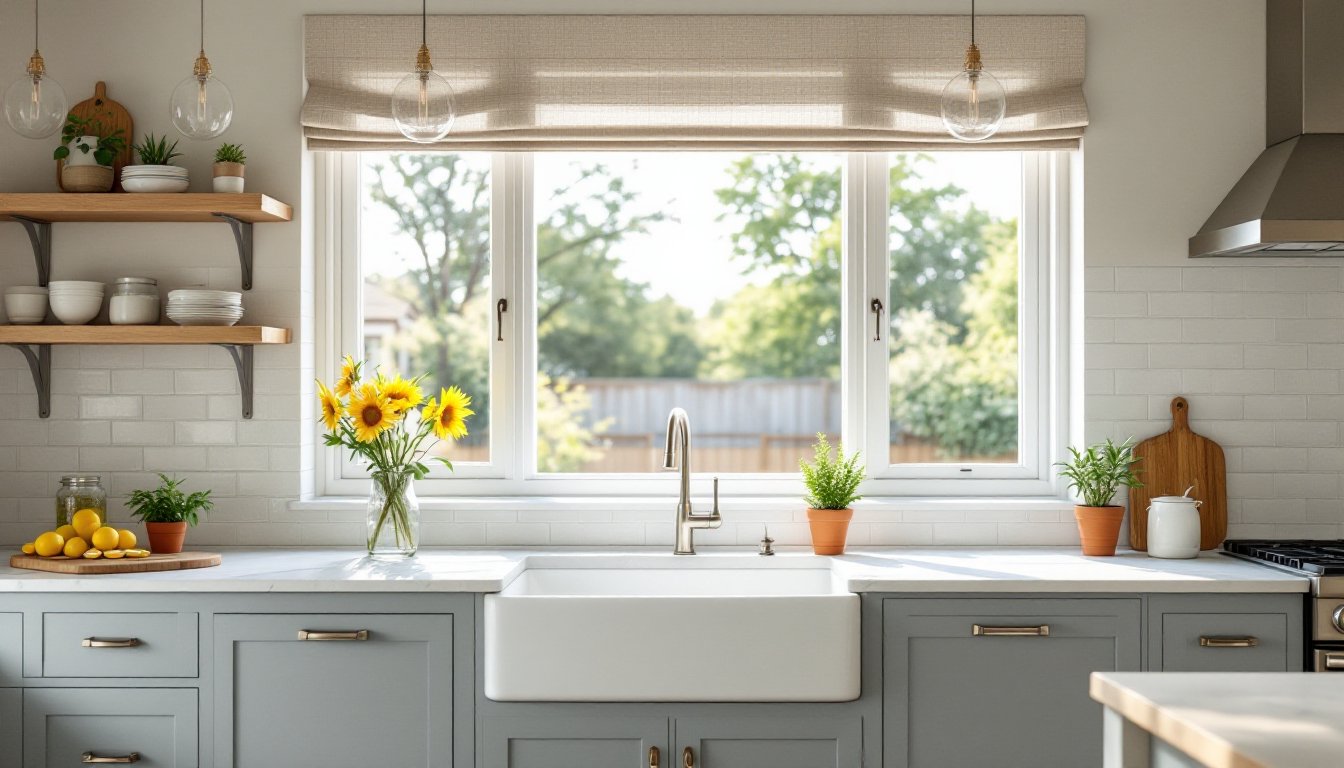
Another advantage: shared natural light. Windows in the dining area can brighten the kitchen, and vice versa. Instead of one dim kitchen and one underlit dining nook, the entire zone benefits from every light source.
That said, demo’ing a wall isn’t always straightforward. Load-bearing walls require engineered beams and permits. Even non-structural walls may house electrical, plumbing, or HVAC runs that need rerouting. Before swinging a sledgehammer, consult a structural engineer or licensed contractor to confirm what’s involved. Skipping this step can lead to sagging ceilings, failed inspections, or expensive repairs.
Strategic Layout Planning for Maximum Functionality
The first step in a combo space is deciding where the kitchen ends and the dining area begins. Without a wall, visual and functional boundaries keep the zones distinct. Start by mapping out the work triangle, sink, stove, and refrigerator, to anchor the kitchen layout. The dining area should sit outside this triangle to avoid foot traffic cutting through the cook’s workspace.
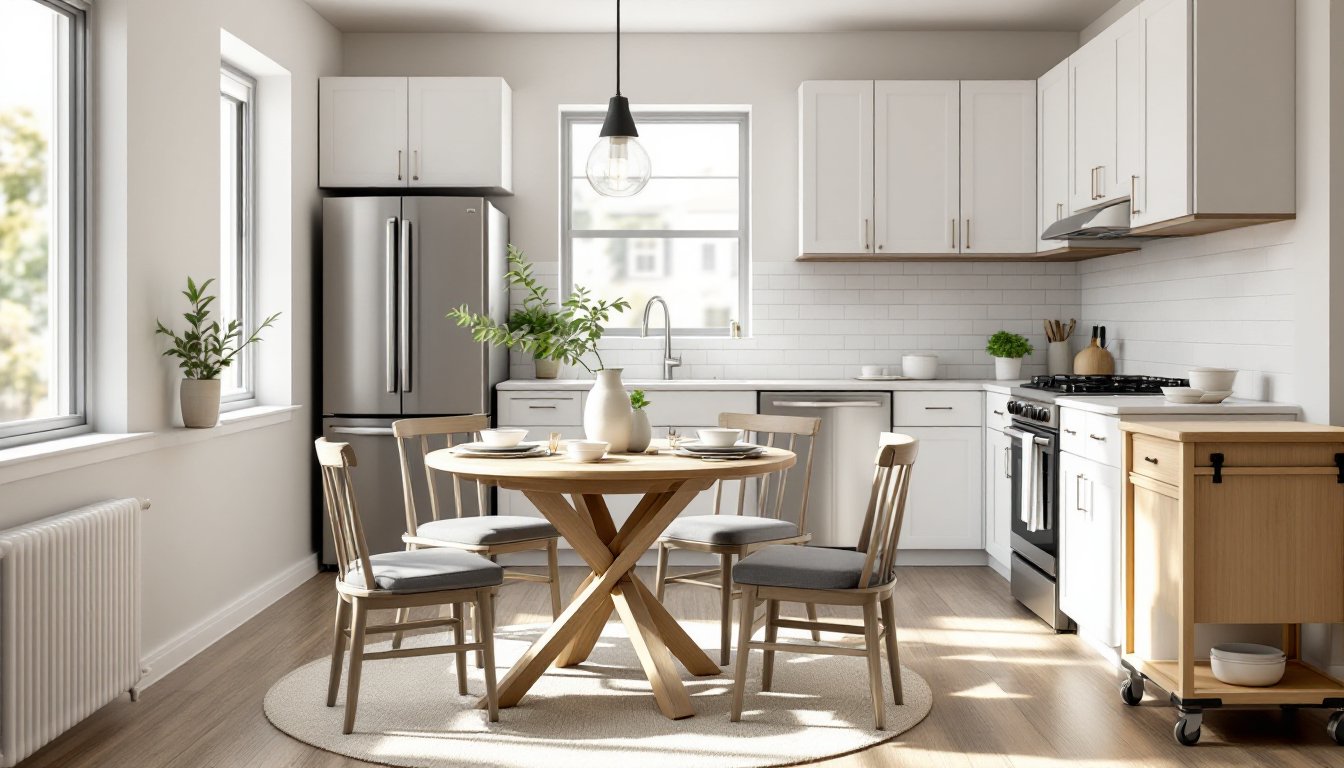
A galley or L-shaped kitchen works well in combos. Both configurations keep appliances and counters along one or two walls, leaving the opposite side open for a dining table. If the kitchen runs along one wall, place the dining table parallel or perpendicular, depending on room shape. An L-shaped kitchen naturally creates a corner that can house a small breakfast nook or a round table.
Orientation matters. Position the dining table near a window if possible, natural light makes meals more pleasant and helps the area feel less cramped. If the table must sit in the center of the room, consider a pendant light or chandelier to define the zone and draw the eye upward.
Measure carefully. A dining table needs at least 36 inches of clearance on all sides for chairs to pull out comfortably. In tight quarters, consider a bench along one side against the wall: benches tuck under the table when not in use, saving 12–18 inches of floor space.
Zone Your Space Without Building Walls
Defining zones without drywall keeps the space open while giving each area its own identity. One of the most effective methods is a change in flooring material. Tile or luxury vinyl plank (LVP) in the kitchen transitions to hardwood or laminate in the dining area. The seam acts as a visual border without blocking sightlines.
Another option: a low peninsula or half-wall with a countertop. This partial divider provides extra prep space and storage on the kitchen side while creating a subtle boundary. It also offers a spot for bar stools, turning the peninsula into casual seating.
Area rugs work in the dining zone but skip them in the kitchen, they’re a tripping hazard and collect spills. A rug under the dining table, sized so all chair legs rest on it even when pulled out, anchors the space and adds texture.
Lighting is another zoning tool. Use recessed or track lighting in the kitchen for task illumination, then switch to a statement pendant or chandelier over the dining table. Different light fixtures signal different functions and help the eye separate the areas.
Finally, consider a bookshelf or open shelving unit placed perpendicular to the wall. This freestanding divider offers storage for cookbooks, dinnerware, or decor while maintaining an open feel. Just make sure it’s anchored to the wall or heavy enough not to tip, never rely on a tall unit to stay upright on its own.
Smart Furniture Choices That Save Space
In a combo layout, every piece of furniture needs to justify its footprint. Oversized dining sets and bulky islands eat up valuable space and make circulation awkward. Start with scale: measure the room, then choose furniture that fits with room to spare.
A round or oval dining table eliminates sharp corners, making it easier to navigate in tight quarters. It also encourages conversation and can squeeze in an extra chair when needed. For a family of four, a 42- to 48-inch round table works well. Extendable models add flexibility for holiday meals without taking up permanent space.
If the kitchen lacks an island, a rolling cart serves as mobile prep space, storage, and a serving station. Many carts include a butcher block or stainless steel top, a wine rack, and drawers for utensils. Roll it into position for meal prep, then tuck it against the wall or into a corner when not in use.
Bench seating along one side of the dining table not only saves space but can also incorporate storage. Lift-top benches hide table linens, seasonal dishware, or small appliances. Built-in banquettes take this further, offering custom storage drawers underneath while maximizing corner seating.
Wall-mounted drop-leaf tables are a game-changer in ultra-tight spaces. Fold the table down when it’s time to eat, then collapse it flat against the wall afterward. Pair with folding chairs stored in a nearby closet, and the dining area disappears when not needed.
For the kitchen, choose a slim profile island if space allows. A 24-inch-deep island instead of the standard 36 inches leaves more room for walkways. Many recent interior design trends favor narrow islands with integrated seating on one side, which doubles as a breakfast bar.
Color Schemes and Lighting to Expand Visual Space
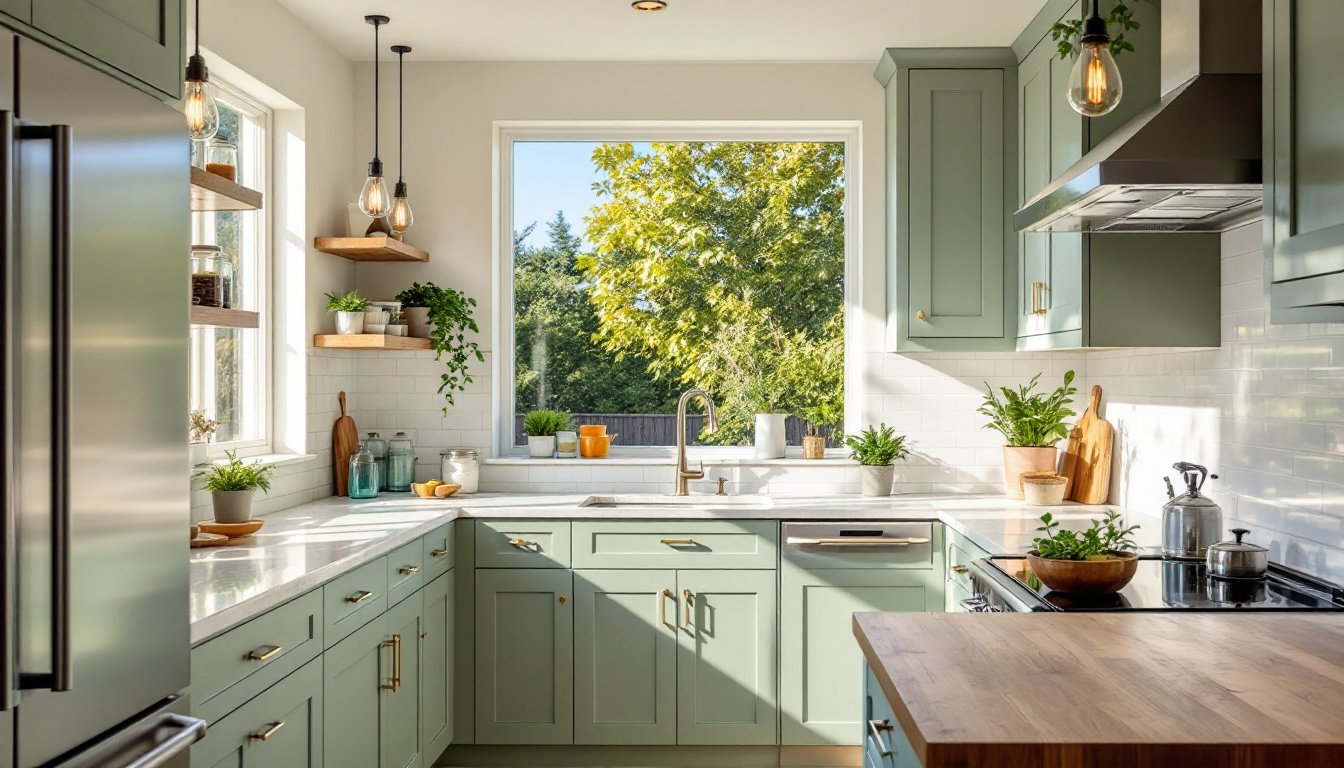
Light colors reflect more light, making small spaces feel larger. White, soft gray, pale beige, and cool blues open up a room and create continuity between the kitchen and dining zones. Painting all walls, trim, and even the ceiling the same shade eliminates visual breaks that chop the space into smaller pieces.
That doesn’t mean everything has to be white. An accent wall in a deeper tone, charcoal, navy, or forest green, adds depth without overwhelming the room. Just keep the accent to one wall, preferably the one farthest from the entry, to draw the eye through the space.
Cabinet color matters, too. White or light-stained cabinets keep the kitchen from feeling heavy. If dark cabinets are a must, balance them with light countertops and backsplash tile. Glossy finishes on cabinets or backsplash tiles bounce light around, amplifying brightness.
Lighting strategy should involve three layers: ambient, task, and accent. Ambient lighting, recessed cans or a flush-mount ceiling fixture, provides overall illumination. Task lighting focuses on work areas: under-cabinet LED strips for countertops, pendant lights over the island, and a fixture centered over the dining table. Accent lighting, like a picture light on a piece of art or a small LED strip under floating shelves, adds visual interest and highlights design elements.
Dimmers are non-negotiable. They let the space shift from bright task lighting during meal prep to softer, ambient lighting during dinner. Install dimmer switches on all overhead fixtures for maximum flexibility.
For task lighting, under-cabinet LEDs are the DIY-friendly choice. Many systems plug in or use adhesive mounting, requiring no electrical work. Hardwired versions offer a cleaner look but involve running wire through walls, an NEC-compliant job that may require a permit depending on local codes.
Natural light should be maximized wherever possible. Skip heavy drapes in favor of sheer curtains, blinds, or no window treatments at all if privacy allows. If the space lacks windows, consider a tubular skylight (also called a sun tunnel). These small, reflective tubes channel daylight from the roof into the room below and work well in kitchens or dining areas where traditional skylights aren’t feasible.
Storage Solutions That Keep Both Areas Clutter-Free
A small combo space can’t tolerate clutter. Every pot, plate, and appliance needs a dedicated home. Start by purging duplicates and items used less than once a year. Then focus on maximizing vertical and hidden storage.
Floor-to-ceiling cabinets make the most of vertical space. Upper cabinets that extend to the ceiling add storage for infrequently used items, holiday platters, extra glassware, or small appliances. Use a step stool to access the top shelf: it beats letting that space go to waste.
Lazy Susans and pull-out shelves in corner cabinets eliminate dead space. A blind corner pull-out system brings items from the back within reach, no digging required. For base cabinets, deep drawers with dividers organize pots, pans, and lids better than traditional shelves.
Open shelving can work in a combo layout, especially when styled thoughtfully. Floating shelves display dishes, glassware, or cookbooks while keeping them accessible. But, open shelves collect dust and require regular tidying, they’re not a good fit for those who prefer a low-maintenance kitchen.
In the dining zone, a sideboard or buffet offers closed storage for table linens, serving dishes, and dinnerware. The top surface works as a serving station during meals or holds a table lamp and decor the rest of the time. Choose a piece with doors instead of open shelves to hide clutter.
Pegboards and magnetic knife strips free up drawer and counter space. Mount a pegboard inside a cabinet door or on an empty wall section to hang utensils, measuring cups, or small tools. Magnetic strips hold knives and metal spice tins, keeping them visible and within reach.
Many homeowners starting small renovation projects overlook drawer organizers. Custom inserts for utensils, spices, or cutlery keep drawers tidy and make items easier to find. Measure drawer interiors before buying organizers, standard sizes don’t always fit.
For appliances, keep only what’s used at least weekly on the counter. Coffee maker, toaster, and dish rack are reasonable. Stand mixer, blender, and food processor should live in a cabinet or appliance garage. Small appliances recommended by kitchen design experts often come with compact versions that save counter space without sacrificing function.
Conclusion
A small kitchen-dining combo isn’t a limitation, it’s an opportunity to design a hardworking, flexible space that handles daily meals and special occasions without wasting a square inch. Success comes down to thoughtful layout, scaled furniture, consistent finishes, and storage that keeps clutter in check. These strategies apply whether tackling a weekend refresh or a full gut renovation. The goal is simple: make every element earn its place.