Table of Contents
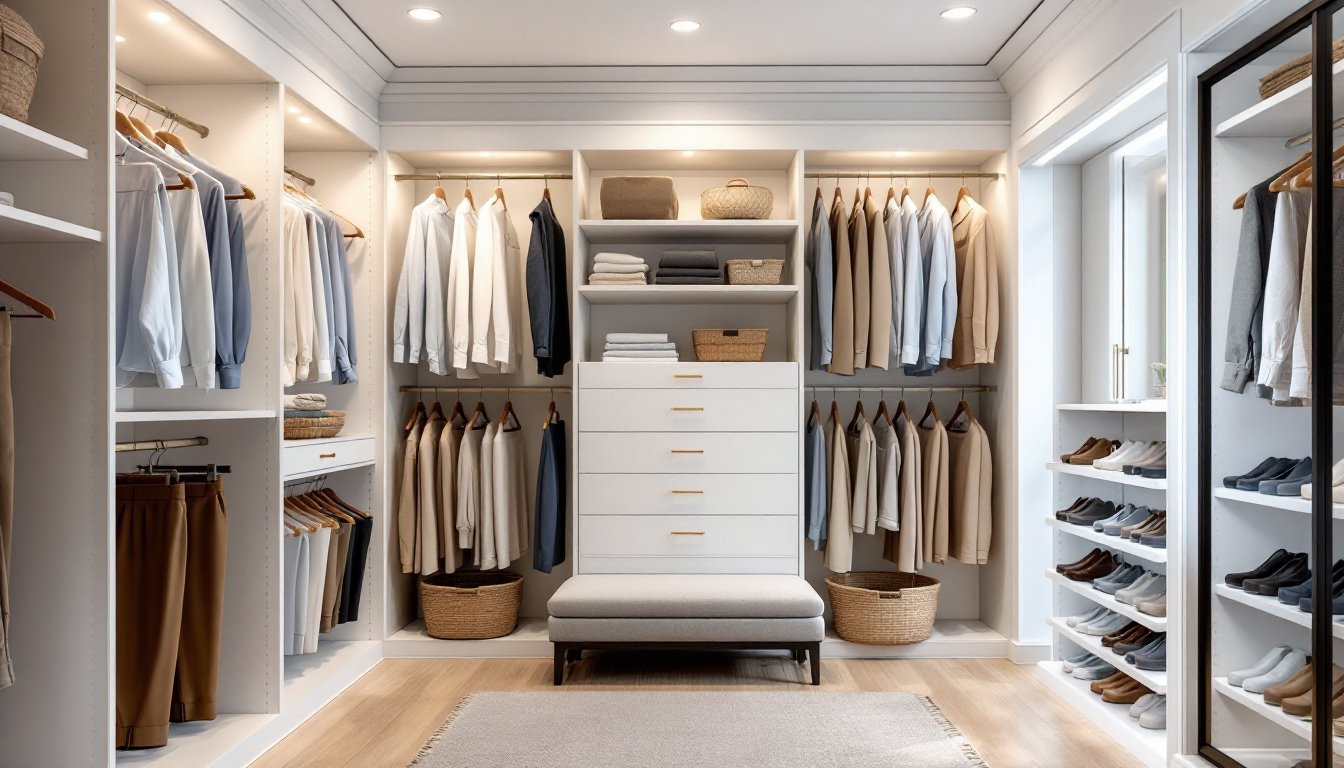
ToggleTransforming a walk-in closet from a cluttered catch-all into an organized, functional space doesn’t require a contractor. With the right layout decisions, storage systems, and finishing touches, homeowners can build a closet that handles everything from seasonal wardrobes to shoe collections without sacrificing accessibility. This guide walks through practical design strategies, storage configurations, lighting upgrades, and budget-conscious DIY improvements that turn underutilized square footage into a hardworking asset.
Key Takeaways
- Walk-in closet design ideas succeed by prioritizing layout first—measure your space, choose from single-sided, L-shaped, or U-shaped configurations, and maintain at least 36–42 inches of center aisle clearance for functionality.
- Smart storage systems range from affordable wire shelving ($2–$4/linear foot) to customizable melamine units ($5–$10/linear foot) and durable plywood builds, with adjustable shelving and soft-close drawers enabling long-term flexibility.
- Layer three types of lighting—ambient overhead fixtures, task lighting on shelves, and accent puck lights—using warm white bulbs (3,000–4,000K) to accurately display clothing colors and eliminate shadows.
- Budget-friendly DIY upgrades like repainting ($50–$100), replacing shelving ($200–$600), and adding LED strips ($30–$150) can transform a walk-in for $300–$1,200 without hiring contractors.
- Finishing touches such as light wall colors, full-length mirrors, quality hardware, and low-pile area rugs elevate both aesthetics and usability while maintaining the closet’s organizational systems.
Essential Layout Strategies for Walk-In Closets
Layout determines how efficiently every inch works. Start by measuring the space: record length, width, and ceiling height, noting any obstructions like HVAC vents, electrical outlets, or angled ceilings. Most walk-ins fall into three footprints, single-sided (one wall of storage, 4–5 feet wide minimum), L-shaped (two adjacent walls, common in corner spaces), or U-shaped (three walls, ideal for 7×7-foot or larger rooms).
For a U-shaped layout, leave at least 36 inches of clearance in the center aisle so drawers and doors can open fully without blocking movement. If the closet doubles as a dressing area, bump that to 42–48 inches to allow comfortable maneuvering.
Place long-hanging sections (dresses, coats) on one wall, double-hang zones (shirts over pants) on another, and shelving or cubbies on the third. Organizing by garment length prevents wasted vertical space and creates natural zones. Professional layouts often cluster like items, shoes near accessories, folded clothes near undergarments, to streamline morning routines.
If the closet lacks a door or sits in a bedroom alcove, consider installing a barn door or bifold to conceal the space when not in use. Both save swing clearance compared to traditional hinged doors. Check local building codes if adding or relocating interior doors: most jurisdictions don’t require permits for non-structural cosmetic changes, but confirm before cutting into walls.
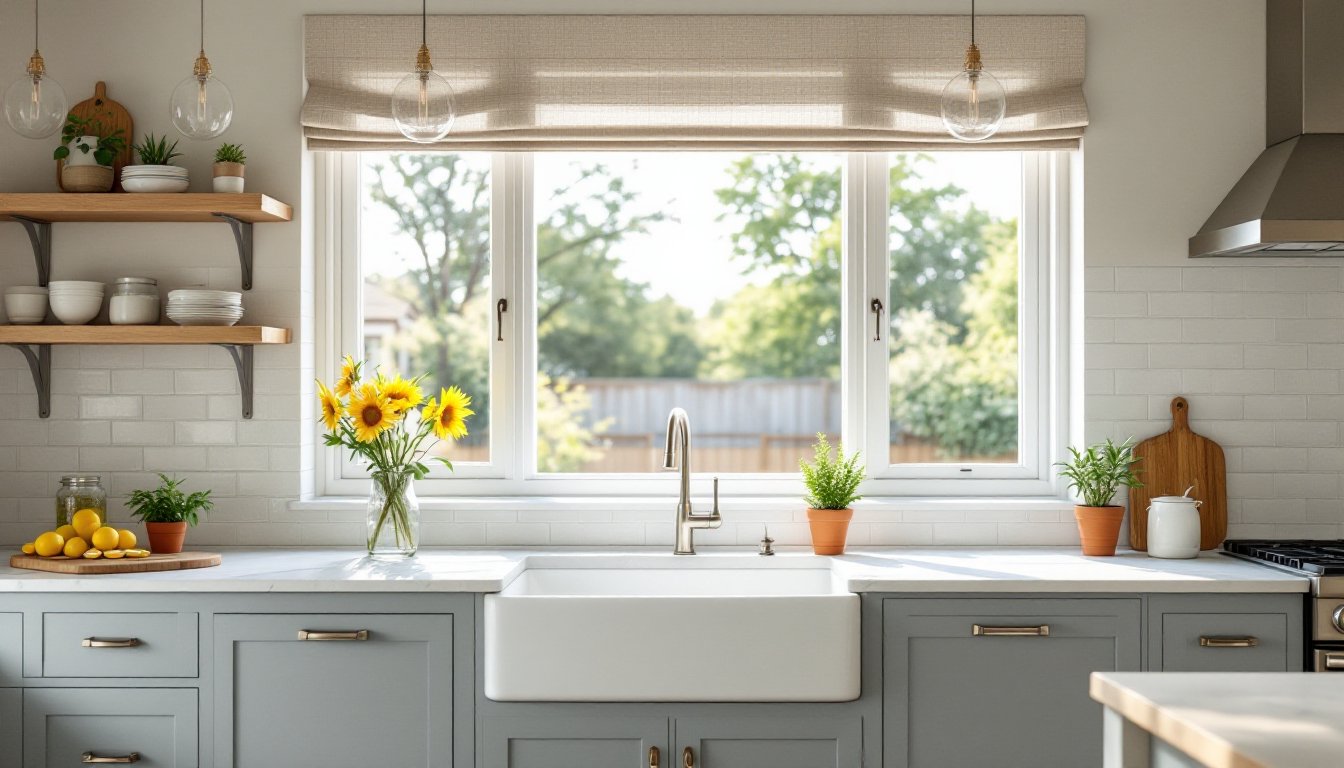
Smart Storage Solutions That Transform Your Space
Storage systems fall into three categories: wire shelving, melamine or laminate systems, and solid wood or plywood custom builds. Wire shelving (ClosetMaid, Rubbermaid) costs $2–$4 per linear foot, installs quickly with wall clips, and allows airflow, helpful in humid climates. The downside: smaller items fall through gaps, and sagging occurs under heavy loads.
Melamine systems (IKEA PAX, EasyClosets) run $5–$10 per linear foot and offer adjustable shelves, drawers, and modular components. They mount to studs with a hanging rail, making future reconfiguration simple. A DIY walk-in using IKEA PAX can handle full bedroom closets for under $800 in materials if assembled correctly.
Custom plywood builds provide the most durability. Use ¾-inch birch or maple plywood for shelves, cut to width with a circular saw or table saw. Support shelves longer than 36 inches with a vertical divider or cleat to prevent sagging. Finish edges with iron-on veneer tape or poplar face frames for a clean look. Prime with a stain-blocking primer (Zinsser BIN or KILZ) and topcoat with semi-gloss paint for easy cleaning.
Custom Shelving and Drawer Configurations
Adjustable shelving beats fixed layouts. Install standards and brackets (Rubbermaid FastTrack, Elfa) along wall studs every 16 or 24 inches. This hardware lets users reposition shelves as needs change, raising a shelf for boots in winter, lowering it for sandals in summer.
For drawer units, soft-close ball-bearing slides (rated for 75–100 lbs) handle folded jeans, sweaters, and accessories without binding. Mount drawers between 28–36 inches from the floor for ergonomic access. Reserve higher shelves (60+ inches) for bins holding seasonal or seldom-used items.
Pull-out shoe racks, belt hooks, and valet rods maximize vertical real estate. A single 8-foot wall can hold 40+ pairs of shoes on angled shelves spaced 6–7 inches apart. Dedicate one section to a pull-out hamper or laundry sorter to keep dirty clothes off the floor.
Lighting Design Ideas for Better Functionality
Poor lighting turns a well-designed closet into a guessing game. Ambient overhead fixtures alone leave shadows in corners and behind hanging clothes. Layer three lighting types: ambient, task, and accent.
For ambient lighting, a flush-mount LED ceiling fixture (14–16 watts, 1,200–1,500 lumens) provides general illumination in a 7×7-foot space. Choose a color temperature of 3,000–4,000K (warm to neutral white) to render clothing colors accurately without the harsh blue cast of 5,000K+ bulbs.
Task lighting targets specific zones. Install LED strip lights (12V or 24V) along the underside of shelves above hanging rods or inside drawer banks. Peel-and-stick options (Amazon Basics, Philips) work for renters, but hardwired strips offer cleaner aesthetics. Wire them to a wall switch or add a motion sensor switch (Lutron Maestro) so lights activate when entering the closet.
For accent lighting, use puck lights or recessed mini-cans to highlight shoe displays or accessories. Space recessed fixtures 24–30 inches apart, centered over shelving runs.
All electrical work must comply with the National Electrical Code (NEC). If adding new circuits or junction boxes, hire a licensed electrician or pull a permit if local jurisdiction requires it. Simple plug-in LED strips don’t require permits, but hardwired fixtures do in most areas.
Safety note: Wear safety glasses when drilling into walls to mount fixtures, and use a stud finder to avoid cutting into electrical wiring or plumbing behind drywall.
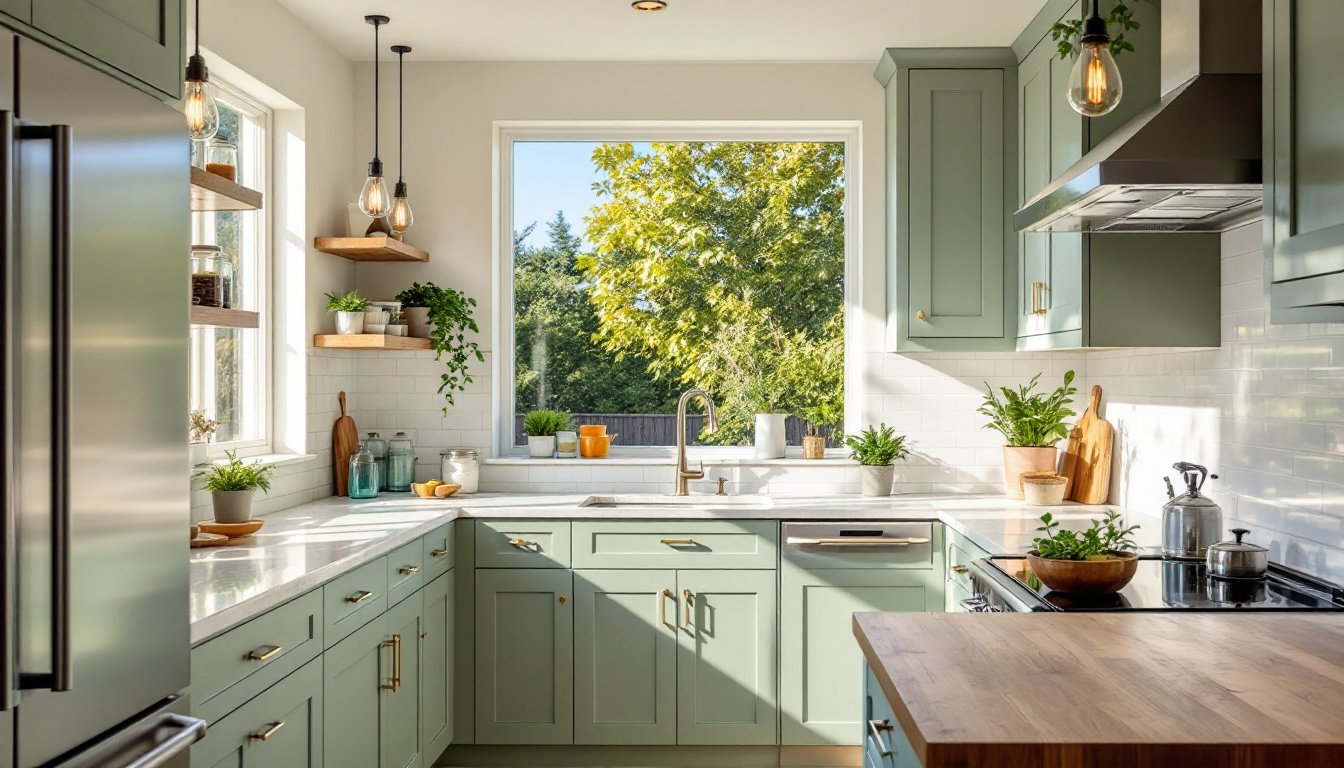
Stylish Finishing Touches and Decor Elements
Finishing details elevate a utilitarian closet into a polished space. Start with wall paint or wallpaper. Light neutrals (Benjamin Moore White Dove, Sherwin-Williams Alabaster) reflect light and make small closets feel larger. Bold patterns or accent colors work in larger walk-ins but test samples first, closets see less natural light than main rooms.
Hardware and trim add visual interest. Swap builder-grade plastic drawer pulls for brushed nickel or matte black knobs ($2–$5 each). If shelves lack face frames, add a 1×2 poplar trim along exposed edges, painted to match cabinetry.
Incorporate a full-length mirror (24×68 inches minimum) on a wall or closet door. Frameless mirrors mount with adhesive clips: framed versions screw into studs. Position mirrors opposite windows or light sources to amplify brightness.
For a boutique feel, add a small upholstered bench or ottoman (14–18 inches tall) beneath the double-hang section. It provides seating for putting on shoes and adds texture. Choose performance fabrics (Crypton, Sunbrella) that resist stains if the closet sees daily use.
Area rugs define the center aisle and soften hard flooring. A 3×5-foot or 4×6-foot low-pile rug (natural fiber or flatweave) fits most walk-ins without bunching underfoot. Avoid deep shag, it collects dust and interferes with drawer slides.
Many storage-focused design ideas incorporate hooks, trays, and jewelry organizers as both functional tools and decorative accents. Velvet-lined trays, acrylic drawer dividers, and brass hooks turn everyday items into display-worthy elements.
Budget-Friendly DIY Walk-In Closet Upgrades
Renovation costs vary by region and material grade, but several upgrades deliver high impact without professional labor. Expect to spend $300–$1,200 for a full DIY overhaul of a modest walk-in, depending on storage density and finish quality.
Repainting walls and shelving costs $50–$100 in materials (paint, primer, brushes, roller covers). Prep is critical: sand glossy surfaces with 120-grit sandpaper, fill nail holes with spackling compound, and prime bare wood or MDF to prevent bleed-through. A gallon of quality semi-gloss covers roughly 350–400 square feet, enough for two coats in most closets.
Replacing wire shelving with melamine or wood runs $200–$600 in materials for a 7×7-foot space. Cut costs by using ¾-inch sanded plywood from big-box stores instead of pre-finished panels. A circular saw with a fine-tooth blade (60+ teeth) yields clean cuts: guide it along a clamped straightedge to avoid tear-out. For cleaner angled cuts on trim or face frames, a miter saw outperforms a circular saw but isn’t essential.
Adding LED lighting costs $30–$150. Battery-powered puck lights ($20 for a 6-pack) stick under shelves with adhesive backing, no wiring, no permit. Plug-in LED strips ($25–$50 for 16 feet) connect to an existing outlet and dim with an inline controller.
Installing standards and brackets allows shelving reconfiguration for $75–$150. Mount tracks to studs with #8 wood screws (2½ inches long): toggle bolts work for drywall-only areas but won’t support heavy loads.
Safety reminder: Wear a dust mask when cutting MDF or sanding, gloves when handling sharp-edged materials, and ear protection if using power saws for extended periods. Unplug tools when changing blades.
For tight budgets, prioritize one upgrade per season: paint in spring, shelving in summer, lighting in fall. Incremental improvements spread costs and let homeowners test configurations before committing to permanent installations.
Conclusion
A functional walk-in closet hinges on thoughtful layout, durable storage components, and adequate lighting, not square footage alone. By planning zones around garment types, selecting adjustable systems, and layering light sources, homeowners build spaces that adapt to changing needs without costly tear-outs. Start with one upgrade, test the workflow, and expand from there.