Table of Contents
ToggleA kitchen bar changes how a space functions and feels. It creates an informal dining spot, adds counter space for meal prep, and often becomes the social hub where guests gather during parties. Whether working with a sprawling open-concept layout or a compact galley kitchen, the right bar design can increase both functionality and home value. This guide walks through practical bar styles, essential design elements, material choices, and smart solutions for tight spaces, giving homeowners the tools to plan a kitchen bar that fits their lifestyle and budget.
Key Takeaways
- Kitchen bar design ideas range from budget-friendly breakfast bars to full island layouts, with options like fold-down bars perfect for compact spaces.
- Proper overhang depth (12–15 inches), seating height, and spacing are essential for comfort and functionality in any kitchen bar setup.
- Material choices—from affordable tile to premium quartz, butcher block, and live-edge wood—impact both maintenance requirements and long-term durability.
- Space-saving solutions like peninsula bars, rolling carts, and corner bars allow small kitchens to gain seating and counter space without major renovations.
- Electrical outlets, strategic lighting (30–36 inches above the counter), and adequate knee clearance transform a bar into a functional social hub.
- A well-designed kitchen bar increases home value, provides informal dining and prep space, and naturally defines zones in open-concept layouts without blocking sightlines.
Why Add a Kitchen Bar to Your Space?
A kitchen bar solves multiple problems at once. It provides casual seating without requiring a full dining room, which appeals to families who eat breakfast on the go or prefer informal meals. The added counter surface works as overflow prep space during holiday cooking or weekend baking projects.
Bars also define zones in open-plan homes. A raised or extended countertop creates a visual boundary between the kitchen and living area without blocking sightlines. This matters in homes where parents want to watch kids in the family room while cooking dinner.
From a resale perspective, kitchen bars add measurable value. Real estate agents note that buyers consistently rank kitchen seating as a top priority. A well-designed bar increases the perceived size of the kitchen and makes smaller homes feel more accommodating.
On the practical side, bars hide kitchen clutter from the dining or living side. Dirty dishes, small appliances, and prep mess stay out of view while guests sit at the bar. This makes entertaining less stressful and keeps the public-facing side of the kitchen presentable.
Popular Kitchen Bar Styles for Modern Homes
Breakfast Bar Designs
Breakfast bars attach to an existing countertop or wall, extending the workspace into the room. They’re the most budget-friendly bar option because they require minimal structural changes. Standard breakfast bars measure 36 to 42 inches high to align with base cabinet height, though bar-height versions at 42 to 48 inches create a more dramatic separation.
A peninsula breakfast bar works well in U-shaped or L-shaped kitchens. It extends from the end of a cabinet run, providing seating on one side while leaving the kitchen side open for prep work. Allow 24 inches of width per seat and a minimum 15-inch overhang for knee clearance. Most building codes require support brackets or corbels when the overhang exceeds 12 inches without underlying cabinetry.
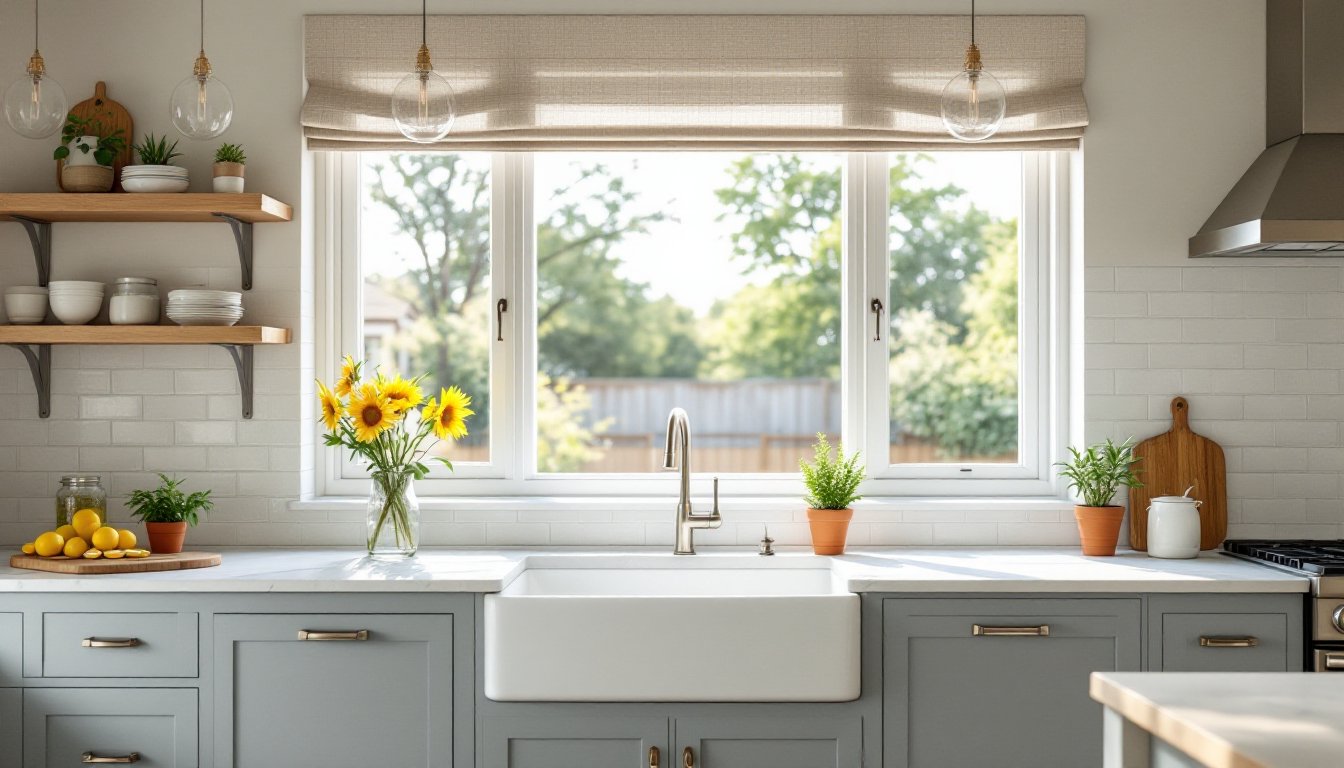
Wall-mounted breakfast bars, sometimes called floating bars, attach directly to studs with heavy-duty brackets. They save floor space in narrow kitchens but require careful installation. Locate wall studs with a stud finder and use lag bolts rated for the combined weight of the countertop, brackets, and expected load (usually 50 pounds per linear foot). Floating bars made from solid wood or stone need 16-inch on-center blocking between studs for adequate support.
For design inspiration, many homeowners look to kitchen-focused resources that showcase how breakfast bars integrate with different cabinet styles and color schemes.
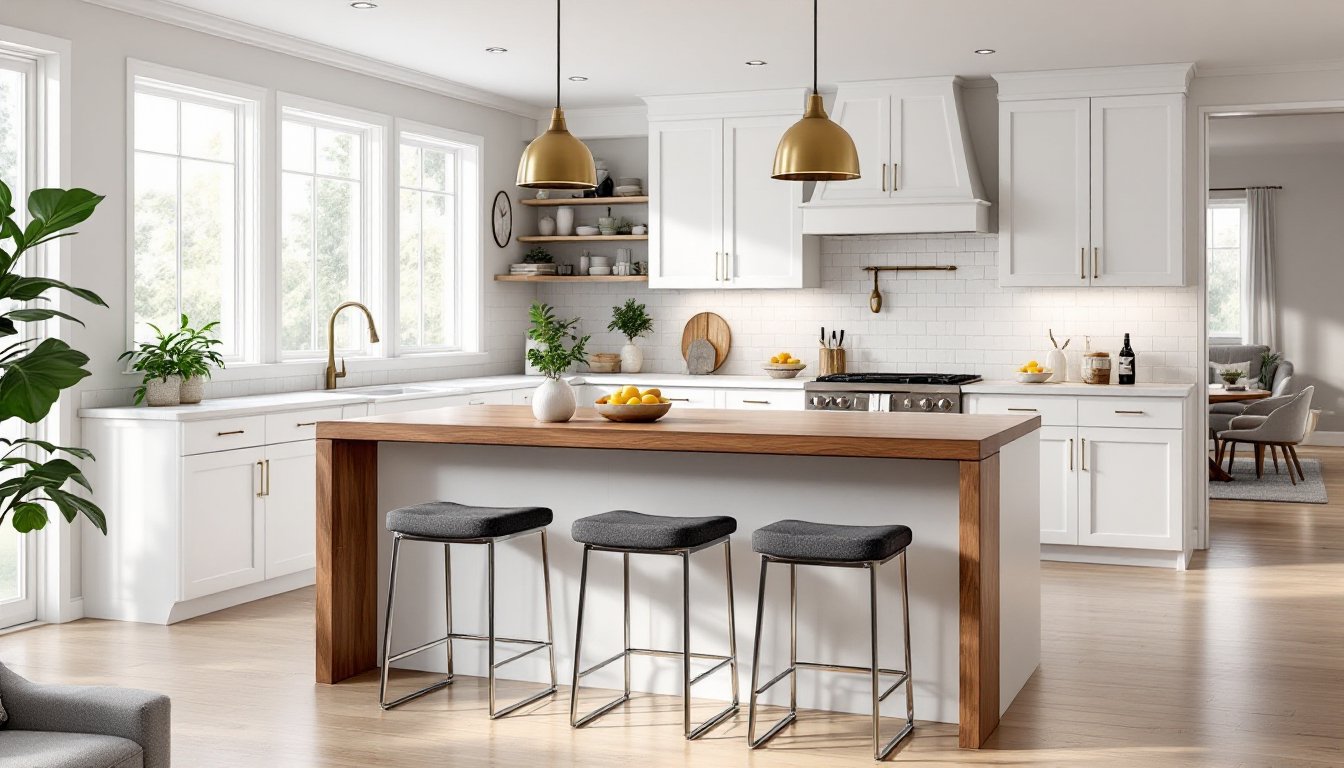
Island Bar Layouts
Kitchen islands with integrated bars serve as the centerpiece of larger kitchens. A two-level island includes a lower 36-inch prep surface and a raised 42-inch bar top. This tiered design keeps mealtime clutter separate from the dining side and provides a subtle privacy screen.
Single-level islands simplify construction and cost less to build. They work best when the entire island sits at standard counter height, making the surface multipurpose for both cooking and eating. Bar stools at counter height (24 inches) replace traditional bar-height stools (30 inches).
Minimum clearance around an island is 42 inches on all sides for single-cook kitchens and 48 inches for households where two people cook simultaneously. Islands smaller than 4 feet by 2 feet rarely provide enough overhang for comfortable seating. For perspective, a typical island that seats three people measures roughly 7 feet long by 3 feet deep.
Islands that include plumbing or electrical outlets require planning before installation. Plumbing vents must comply with the International Residential Code (IRC), and electrical outlets need GFCI protection within 6 feet of a sink. Running these utilities through a concrete slab is expensive: homes with crawl spaces or basements offer easier access.
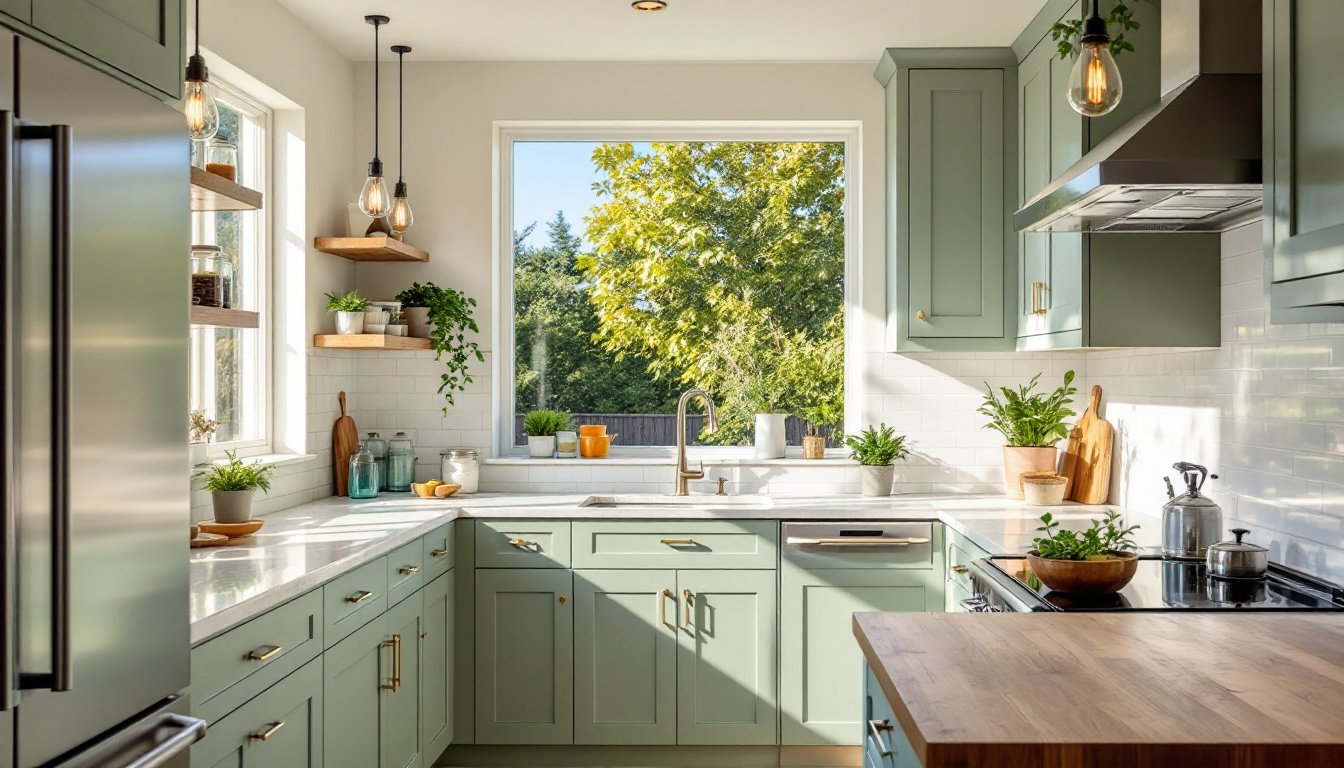
Many modern kitchen layouts combine island bars with pendant lighting and open shelving for a cohesive look.
Essential Design Elements for a Functional Kitchen Bar
Overhang depth determines comfort. A 12 to 15-inch overhang accommodates knees and legs without crowding. Anything less forces diners to sit sideways. Stone and quartz countertops heavier than 18 pounds per square foot need corbels or steel brackets when the overhang exceeds 10 inches.
Seating height and spacing follow standard ergonomics. Counter-height bars pair with 24-inch stools, while bar-height surfaces need 30-inch stools. Measure from the floor to the underside of the counter: subtract 10 to 12 inches to find the correct stool height. Space stools 26 to 30 inches apart (center to center) to prevent elbow bumping.
Footrests improve comfort for bars taller than 36 inches. Many island designs include a built-in footrest rail 8 to 12 inches above the floor. Alternatively, stools with integrated footrests eliminate the need for custom millwork.
Electrical outlets make a bar more functional. The National Electrical Code (NEC) requires receptacles every 4 feet along countertops used for small appliances. If the bar will host laptops, phone chargers, or small appliances like blenders, plan for at least one 20-amp circuit with GFCI protection. Surface-mounted pop-up outlets work well on island bars where running electrical through the floor complicates installation.
Lighting sets the mood and provides task illumination. Pendant lights hung 30 to 36 inches above the bar surface offer focused light without blocking conversation. Space pendants 24 to 30 inches apart for even coverage. Use LED bulbs rated at 2700K to 3000K for warm, inviting light that doesn’t wash out food colors.
Knee clearance underneath affects whether built-in storage is practical. Standard bar stools need 18 inches of width and 15 inches of depth per seat. Drawers and cabinets on the kitchen side of the bar can extend into this space as long as the overhang provides clearance on the seating side.
Creative Material and Finish Combinations
Butcher block brings warmth and texture to kitchen bars. End-grain maple or walnut butcher block costs $40 to $80 per square foot installed and doubles as a cutting surface if properly maintained. Seal butcher block with food-safe mineral oil every four to six weeks to prevent water damage and staining. Avoid placing butcher block directly over dishwashers: the steam can cause warping.
Quartz dominates modern kitchen bars for good reason. It resists stains, doesn’t require sealing, and comes in hundreds of colors and patterns. Expect to pay $60 to $120 per square foot installed, depending on thickness (2 cm or 3 cm) and edge profile. Waterfall edges, where the countertop material continues down the sides of the island, add $300 to $500 per vertical panel.
Concrete offers a custom, industrial look but requires experienced installers. Concrete bars can be tinted, textured, or embedded with decorative aggregates. They need sealing every one to two years to resist staining from wine, coffee, and acidic foods. Concrete weighs 18 to 22 pounds per square foot, so verify that floor joists can handle the load, especially on second-story kitchens.
Live-edge wood slabs create a statement piece. A single slab of walnut, oak, or cherry showcases natural grain and organic edges. Slabs cost $100 to $300 per square foot depending on species and size. Support long slabs with steel brackets or a steel framework hidden underneath. Apply multiple coats of marine-grade polyurethane or epoxy to seal the wood and protect against moisture.
Tile works well for budget-conscious projects. Ceramic or porcelain tile costs $5 to $15 per square foot for materials. Tiled bar tops require 1/4-inch or 3/8-inch cement backer board as a substrate. Use unsanded grout for joints narrower than 1/8 inch and sanded grout for wider spacing. Grout stains easily: seal it annually or choose epoxy grout, which resists staining without sealing.
Mixing materials creates visual interest without overcomplicating the design. Pairing a quartz prep surface with a butcher block bar top defines separate zones while keeping maintenance manageable. Contrasting the island base color with the countertop material, such as navy cabinets with white quartz, adds depth without requiring custom fabrication.
Space-Saving Kitchen Bar Solutions for Small Kitchens
Fold-down bars mount to the wall and swing up when not in use. A 36-inch by 18-inch fold-down surface provides seating for two and folds flat against the wall to free up floor space. Use piano hinges for smooth operation and folding bracket supports rated for 100 pounds or more. Attach the bar to wall studs with 3-inch lag screws or use toggle bolts in drywall if studs aren’t positioned correctly.
Narrow peninsula bars work in galley kitchens where a full island won’t fit. A 12-inch deep countertop extension provides just enough overhang for casual seating without blocking the walkway. Pair it with backless stools that tuck completely under the counter when not in use. This setup maintains the required 36-inch minimum clearance for traffic flow.
Rolling carts offer flexibility in tight kitchens. A cart with a butcher block or stainless steel top serves as a mobile prep station and bar. Lock the wheels during use and roll it into a pantry or corner when extra floor space is needed. Look for carts with a top surface at least 30 inches high to function as a bar: anything lower works better as a prep table.
Countertop extensions slide out from existing cabinetry to create temporary seating. These pull-out surfaces mount on full-extension drawer slides rated for the weight of the countertop plus anticipated load. A 24-inch by 15-inch extension fits two people for quick meals. This solution works best when the existing counter height is 36 inches, matching standard dining table height.
For homes exploring broader renovation strategies, integrating a compact bar can be part of a phased kitchen update that doesn’t require a full remodel.
Corner bars make use of dead space in L-shaped kitchens. A 45-degree angled countertop in the corner creates seating without extending into the walkway. Corner bars need diagonal support brackets to handle the cantilevered load. Plan for 18 to 24 inches of overhang measured from the corner angle.
Small kitchens benefit from light-colored materials and open shelving below the bar to maintain a sense of space. Dark countertops and solid base cabinets make compact kitchens feel more cramped. Use sleek, minimalist designs that emphasize clean lines and avoid bulky ornamentation.
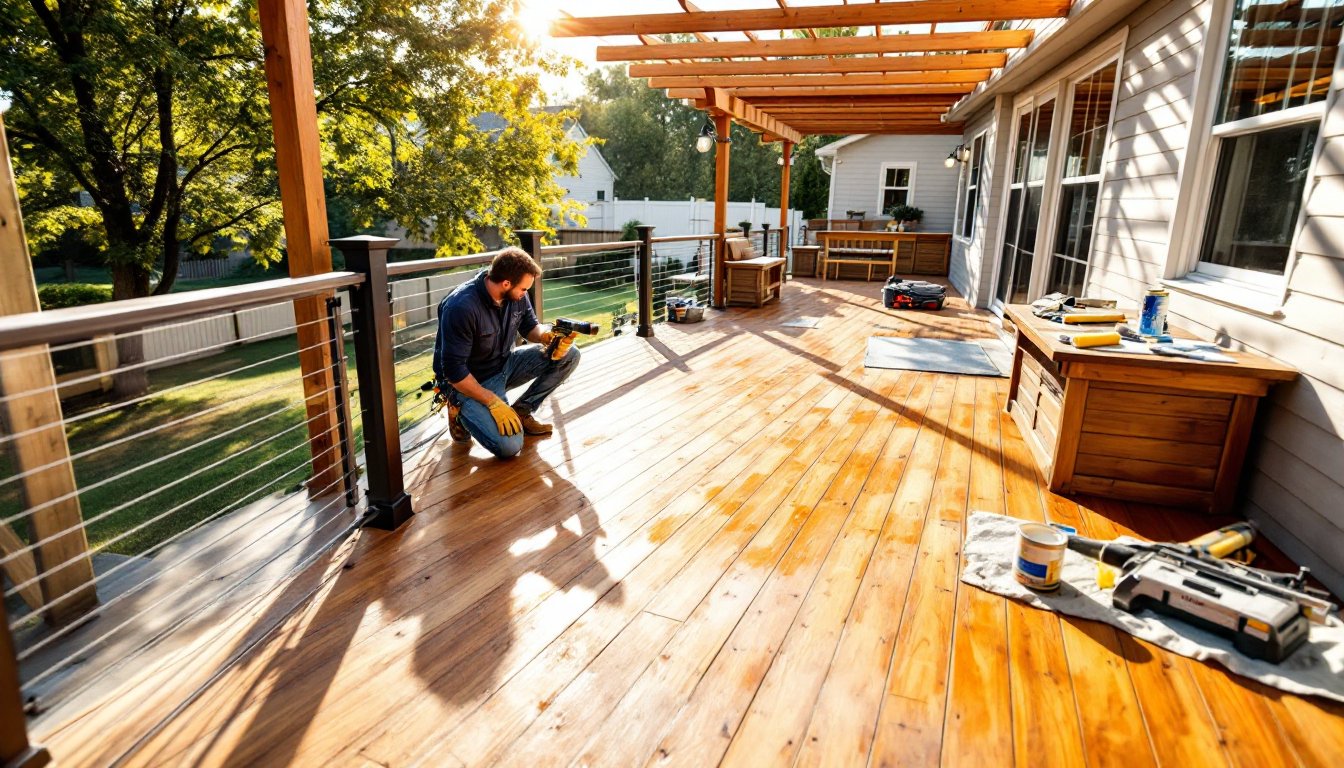
Safety note: Any bar installation that involves structural modifications, removing cabinets, cutting into countertops, or altering load-bearing walls, may require a building permit. Check with the local building department before starting work. Homeowners attempting DIY bar installations should wear safety glasses when cutting materials and work gloves when handling sharp edges or heavy stone.