Table of Contents
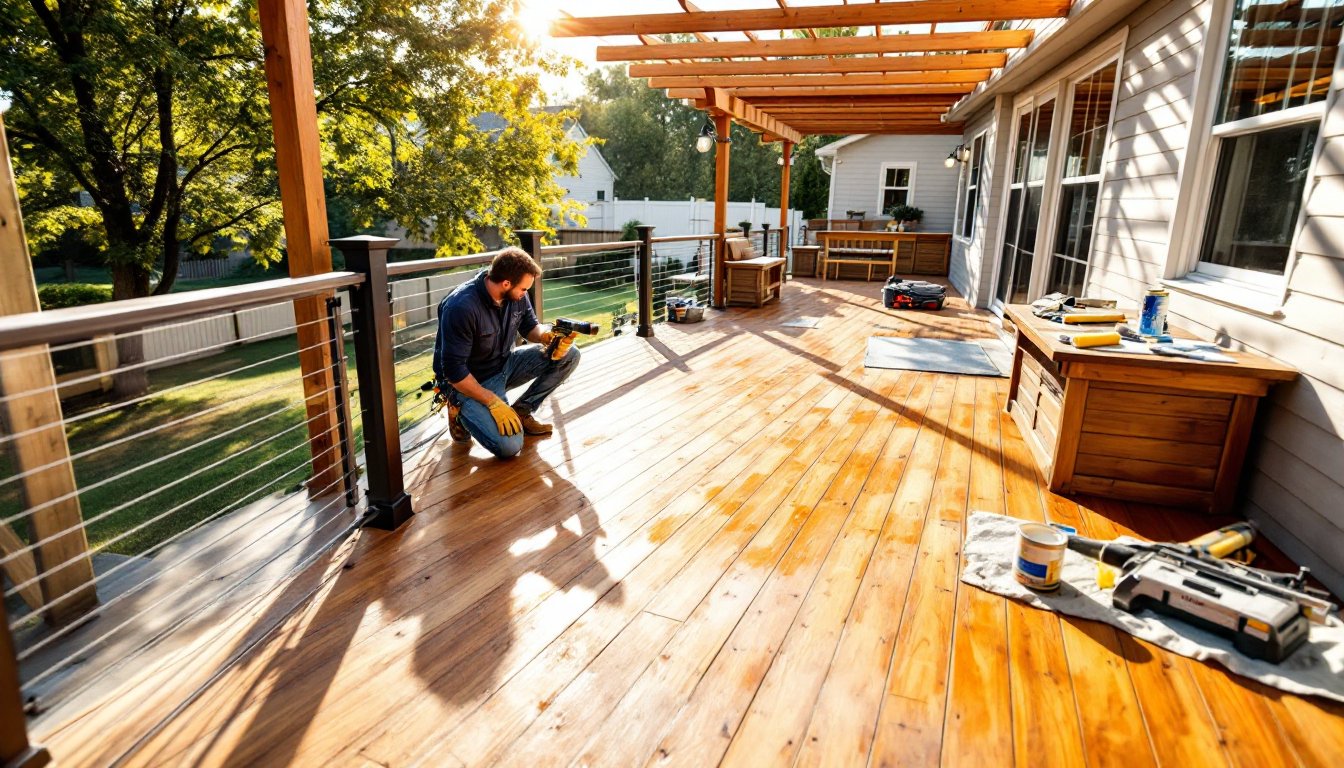
ToggleA weathered deck doesn’t need a full teardown. Most outdoor spaces just need strategic updates to look sharp and function better. Whether it’s splintered boards, dated railings, or a lack of shade, tackling deck <a href="https://cushcoma.com/best-home-renovation-ideas/”>renovation projects can extend the life of the structure and make it a place people actually want to spend time. The right upgrades balance aesthetics with safety, and many projects fall well within DIY skill levels. This guide walks through practical renovation ideas that work for various budgets and skill sets, from surface-level refreshes to structural repairs.
Key Takeaways
- Deck renovation ideas can extend your deck’s lifespan and functionality without a complete teardown by focusing on strategic updates that balance safety and aesthetics.
- Proper surface preparation—stripping old finishes and waiting 48–72 hours for complete drying—is critical to the success of staining or painting projects.
- Upgrading railings improves both safety and curb appeal; ensure balusters meet local codes (typically 4-inch spacing) and use galvanized fasteners to prevent failure and rust.
- Low-voltage outdoor lighting systems and built-in seating or storage solutions enhance both the usability and ambiance of your deck without requiring extensive electrical work.
- Pergolas and shade structures require structural planning and may need permits, but they effectively transform a deck into a defined outdoor room and provide relief from direct sun.
- Always address structural repairs and safety concerns before cosmetic upgrades to prevent wasted effort and protect your investment in extended deck life.
Refresh Your Deck with Fresh Stain or Paint
A fresh coat of stain or paint is one of the quickest ways to revive a tired deck. But it’s also one of the most commonly botched jobs when prep work gets skipped.
Start by inspecting the existing finish. If the current stain is peeling or the wood is graying, strip it with a deck stripper or a power washer set to 1,500–2,000 PSI. Too much pressure damages soft woods like cedar or redwood, so test a small area first. Let the deck dry completely, 48–72 hours in dry weather, before applying anything new.
For staining, semi-transparent stains show wood grain and need reapplication every 2–3 years, while solid stains offer more coverage and last 4–5 years. Oil-based stains penetrate deeper but take longer to dry: water-based options clean up easier and dry faster. One gallon typically covers 200–300 square feet, depending on wood porosity.
If painting, use a deck-specific acrylic paint designed to flex with temperature changes. Prime bare wood first with an exterior primer rated for decks. Two coats of paint generally cover 300–400 square feet per gallon.
Safety: Wear gloves and eye protection when using strippers or power washers. Work in ventilated conditions, especially with oil-based products.
Upgrade Your Deck Railings for Style and Safety
Old railings can fail code, wobble dangerously, or just look dated. Upgrading them improves safety and curb appeal at the same time.
Most jurisdictions require railings on decks higher than 30 inches off the ground, with balusters spaced no more than 4 inches apart (to prevent small children from slipping through). Check local building codes before starting, some areas have stricter rules.
For materials, pressure-treated wood is budget-friendly but needs regular maintenance. Composite railings resist rot and fading, though they cost more upfront. Cable railings offer a modern look and unobstructed views: they require tensioning tools and precise spacing (typically 3-inch gaps between cables). Metal balusters (aluminum or steel) paired with wood top rails split the difference between cost and style.
Replacing railings is a manageable DIY project if the posts are sound. Wobbly posts mean the anchoring system failed, those need to be reattached with galvanized lag screws or through-bolts into the rim joist or blocking. If the framing is compromised, call a contractor. Railings are life-safety components, not the place to cut corners.
Tools needed: Drill/driver, level, miter saw (or circular saw), tape measure, and appropriate fasteners (deck screws, lag bolts, or railing-specific hardware).
Add Built-In Seating and Storage Solutions
Built-in benches and storage boxes make a deck more functional without cluttering it with standalone furniture.
Bench seating can double as a railing cap if the deck is low to the ground, or it can be freestanding along one side. Standard bench height is 18 inches, with a depth of 15–18 inches. Frame it with 2×4 or 2×6 lumber, and use 5/4×6 decking boards for the seat surface (actual dimensions: 1 inch x 5.5 inches). Angle the seat slightly (about 5 degrees) for water drainage.
For storage, build a deck box using the same decking material or composite boards. Hinge the lid with exterior-grade piano hinges or heavy-duty strap hinges, and add a soft-close mechanism to prevent pinched fingers. Line the interior with landscape fabric or a waterproof membrane to keep contents dry, though no deck box is truly watertight.
Consider adding outdoor design features like built-in planters at the ends of benches for a finished look. Frame them with the same lumber and line with pond liner or heavy plastic to protect the wood from constant moisture.
Fasteners: Use galvanized or stainless steel screws rated for exterior use. Regular screws will rust and stain the wood within a season.
Install Outdoor Lighting for Ambiance and Function
Deck lighting extends usable hours and prevents trips and falls after dark. A mix of ambient, task, and accent lighting covers both safety and atmosphere.
Post cap lights sit on top of railing posts and provide soft, diffused light. Most run on low-voltage (12V) systems, which are safer and easier to install than 120V line-voltage setups. Solar options exist but often lack brightness and reliability in shaded or northern climates.
Recessed deck lights (also called step lights) install flush with the deck surface or riser face. They’re ideal for stairs and walkways. Use LED fixtures rated for wet locations (IP65 or higher). Each light draws 1–3 watts, so a 60-watt transformer can handle 20–60 lights depending on the model.
String lights or overhead fixtures add ambiance but require careful planning. If wiring overhead, use outdoor-rated conduit and weatherproof junction boxes. This often means running a new circuit from the main panel, work that typically requires a permit and may need a licensed electrician, especially if modifying the service panel.
For DIY-friendly setups, stick with low-voltage kits that include a transformer, wire, and fixtures. Bury the wire at least 6 inches deep if running it across the yard (check NEC Article 300 for your area), or staple it under the deck framing if possible.
Safety: Turn off power at the breaker before any electrical work. Use a non-contact voltage tester to confirm. Wear safety glasses when drilling into deck boards, hidden fasteners can send metal shards flying.
Incorporate a Pergola or Shade Structure
A pergola turns a deck into a defined outdoor room and offers relief from direct sun. It’s also one of the more ambitious projects on this list.
Most pergolas use 4×4 or 6×6 posts, 2×6 or 2×8 beams, and 2×4 or 2×6 rafters. Remember that nominal dimensions don’t match actual: a 4×4 is really 3.5 x 3.5 inches. Space rafters 16 to 24 inches on center for partial shade: closer spacing or adding lattice increases coverage.
Attach posts to the deck with galvanized post bases bolted through the decking into the joists below. If the deck framing wasn’t designed for the added load, consult a structural engineer or building official, some jurisdictions treat pergolas as accessory structures that require permits and inspections.
For more shade, add a retractable canopy, shade cloth (30%–90% UV block), or corrugated polycarbonate panels. Corrugated panels are popular for areas with frequent rain: they shed water while letting in diffused light. Fasten them with UV-resistant screws and rubber washers to prevent leaks.
Many renovation strategies recommend integrating shade structures early in the planning phase, especially if the deck layout will change.
Tools needed: Post-hole digger (if extending posts to the ground), level, speed square, drill, circular or miter saw, and adjustable wrenches for lag bolts.
Replace or Repair Damaged Decking Boards
Splintered, cracked, or rotted boards are safety hazards and water entry points. Addressing them quickly prevents bigger problems.
Start by identifying which boards need replacing. Probe suspect areas with a screwdriver or awl, if it sinks in easily, the wood is rotted and must go. Surface cracks and small splits can often be sanded smooth, but any board that flexes excessively under weight should be replaced.
To remove a board, back out the fasteners with a drill or oscillating multi-tool, or cut the board between joists with a circular saw set to the deck thickness (usually 1 inch for 5/4 decking or 1.5 inches for 2×6). Pry out the damaged section. If you’re matching existing wood, bring a sample to the lumberyard, grain and color vary between batches.
For composite decking, order replacement boards from the same manufacturer if possible. Color and texture formulas change, and mismatched boards stand out. Composite boards expand and contract with temperature, so leave the manufacturer-recommended gap (typically 1/8 to 1/4 inch).
Fasten new boards with galvanized or coated deck screws driven into every joist. For a cleaner look, use a hidden fastener system that clips to the board edges. These work best with grooved decking designed for them.
Successful renovation techniques often include addressing structural repairs before cosmetic upgrades, preventing wasted effort on unstable surfaces.
Safety: Wear gloves when handling pressure-treated lumber, especially older boards that may contain arsenic-based preservatives (common before 2004). Wash hands before eating.
Conclusion
Deck renovations don’t require starting from scratch. Fresh finishes, updated railings, smart lighting, and structural repairs can transform a worn deck into a safe, attractive outdoor space. Tackle projects in order of priority, safety and structural soundness first, aesthetics second. Many of these upgrades pay off in extended deck life and increased home value, especially when done right the first time.