
In today’s tech-savvy world, running out of battery feels like a scene from a horror movie. Enter the superhero of home improvement: the USB outlet. Imagine a life where you can charge your devices without hunting for that elusive adapter. USB outlets are not just convenient; they’re the stylish upgrade your walls have been waiting for.
Table of Contents
ToggleOverview of USB Outlet Installation
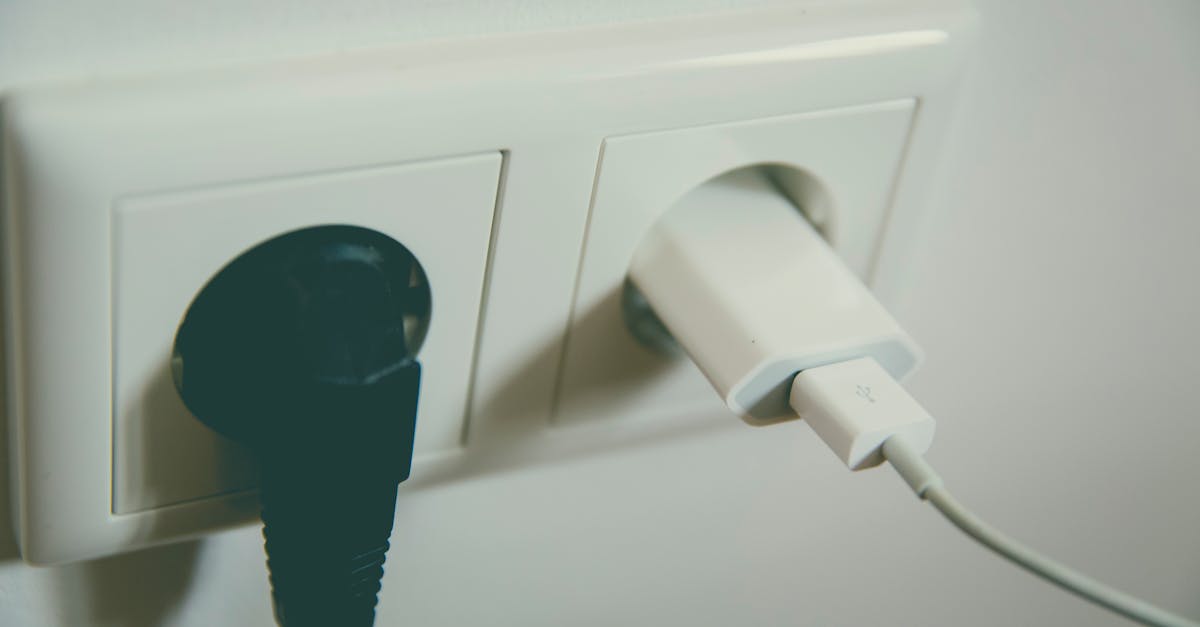
USB outlets have become essential in modern homes due to their practicality and aesthetic appeal. They simplify charging devices, removing dependence on traditional adapters.
Benefits of USB Outlets
USB outlets provide several advantages. Convenience stands at the top; charging devices happens directly without bulky adapters. Space-saving features allow for more efficient use of electrical outlets. Enhanced efficiency comes from faster charging capabilities for many devices. Integration into walls helps maintain a tidy appearance. Cost-effective charging solutions reduce the need for purchasing multiple chargers. Lastly, they offer compatibility with a wide range of devices.
Types of USB Outlets
Three main types of USB outlets exist. First, standard USB outlets include traditional USB-A ports for universal compatibility. Second, USB-C outlets support newer devices, providing faster charging and data transfer. Third, combo outlets feature both USB-A and USB-C ports, offering flexibility for various devices. Each type serves different user needs, maximizing functionality for modern spaces.
Preparing for Installation
Preparation sets the foundation for a successful USB outlet installation. Proper tools and safety measures ensure both efficiency and safety.
Tools Needed
Gathering the right tools simplifies the installation process. Essential tools include a screwdriver for securing the outlet cover, a wire stripper for preparing electrical wires, and pliers for adjusting connections. A voltage tester helps ensure that power is off during the installation. Additionally, a drill may be necessary for adding new outlet locations. Having these tools ready prevents interruptions while working.
Safety Precautions
Prioritizing safety can’t be overstated during electrical projects. Always turn off power at the circuit breaker to avoid shocks. Using insulated tools can further enhance safety. Wearing safety goggles protects against debris or accidental sparks. It’s also wise to check local codes to ensure compliance with installation regulations. Keeping a fire extinguisher nearby adds an extra layer of precaution. These measures foster a safe environment, enabling effective installation of USB outlets.
Step-by-Step Installation Guide
Follow these steps for a smooth USB outlet installation process.
Turning Off Power
Always start by turning off the power at the circuit breaker. This crucial step prevents electrical hazards during installation. Use a voltage tester to confirm that power is off at the existing outlet. Ensure that you do not skip this verification step. Your safety comes first, and working with live wires can lead to serious injuries.
Removing the Existing Outlet
Next, carefully unscrew the existing outlet from the electrical box. Gently pull the outlet out to expose the wiring, avoiding any damage to the wires themselves. Take a moment to note how the wires are connected before detaching them. This observation aids in the correct reinstallation of the USB outlet. Disconnect the wires by loosening the terminal screws.
Wiring the USB Outlet
Prepare the USB outlet for installation by connecting the wires to the appropriate terminals. Connect the black wire to the brass terminal and the white wire to the silver terminal. Ground wires should be attached to the green terminal. Ensure that connections are tight and secure to prevent any electrical issues. Double-check wire connections against any included diagrams for accuracy.
Securing the Outlet and Cover Plate
Finally, push the wired USB outlet back into the electrical box and secure it with screws. Align the outlet properly for a neat appearance. After securing, attach the cover plate to the front of the outlet. Tighten the screws on the cover plate, ensuring it sits flush against the wall. Finish up by turning the power back on at the circuit breaker and testing the outlet to confirm functionality.
Common Issues and Troubleshooting
USB outlet installations can present some challenges. Addressing these issues promptly ensures proper functionality.
Power Issues
Power issues commonly arise in USB outlet installations. If a USB outlet does not power on when connected, the circuit breaker may need attention. Checking the wiring connections is vital, as loose or improperly connected wires can interrupt the power supply. Testing the outlet with a voltage tester eliminates uncertainties about electrical flow. Additionally, if the circuit breaker trips frequently, a circuit overload or faulty wiring might be the cause.
Connectivity Problems
Connectivity problems frequently disrupt charging efficiency in USB outlets. Devices may fail to charge correctly due to compatibility issues between the USB ports and the connected cables. Using worn or damaged cables also results in poor connections. Inspecting both the outlet and the device for any debris or obstructions is crucial. For devices that require more power, such as tablets, ensuring sufficient output from the USB outlet enhances charging performance.
Conclusion
Installing USB outlets is a practical upgrade that enhances the convenience of modern living. With their sleek design and efficient charging capabilities, they cater to the needs of today’s tech-savvy households. By following the proper installation steps and safety precautions, anyone can successfully integrate these outlets into their spaces.
Moreover addressing common issues ensures a smooth experience after installation. Embracing USB outlets not only simplifies device charging but also contributes to a more organized and stylish home environment. As technology continues to evolve, these outlets stand out as a smart choice for any homeowner looking to enhance their electrical setup.